Community recipe
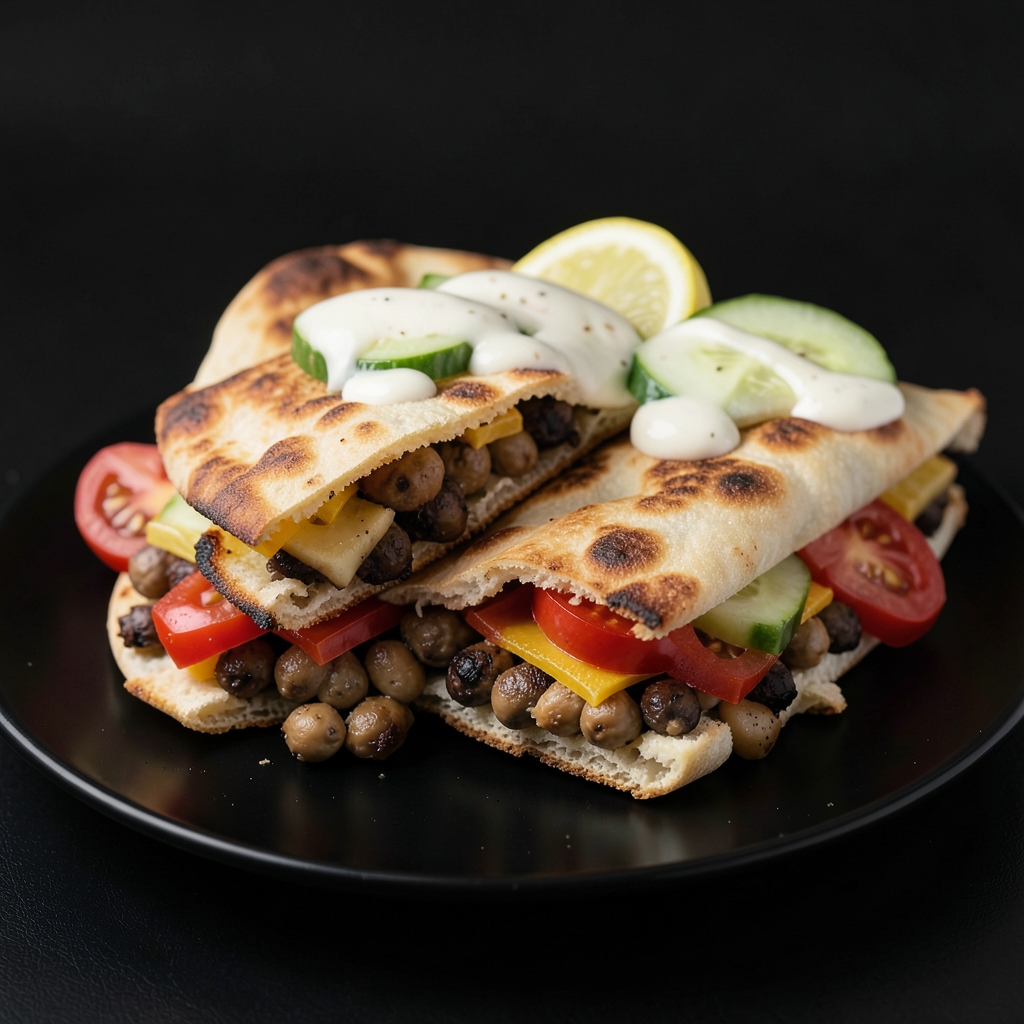
Crispy Halloumi and Chickpea Pitas with Lemon-Garlic Yogurt
Warm pitas stuffed with smoky roasted chickpeas, golden halloumi, cool cucumber and tomato, and a bright lemon-garlic yogurt sauce. A simple sheet-pan supper with plenty of crunch and creaminess.
- Serves
- 4
- Prep
- 15 min
- Cook
- 33 min
- Difficulty
- easy
Get ready
Ingredients
- 2 chickpeas, 15-oz cans; drained, rinsed and dried
- 8 oz halloumi, patted dry and cut into ¾-inch cubes
- 2 tbsp olive oils
- 1 tsp smoked paprika
- 0.5 tsp ground cumin
- 0.25 tsp kosher salt
- 1 tbsp olive oil
- 1 garlic, peeled and finely grated
- 1 cup plain greek yogurt
- 2 tbsp lemon juice
- 0.25 tsp kosher salt
- 1 cucumber, washed, dried and diced
- 2 tomatoes, washed, dried, cored and diced
- 4 pita breads
Make it
Instructions
- 01
Prepare the oven and pan
Set a rack in the middle of the oven and preheat to 425°F (220°C). Line a large rimmed baking sheet with parchment paper, leaving the food side of the parchment exposed; set the lined sheet aside. Have a piece of foil ready for warming the pitas later. | Why: A hot oven encourages browning, and lining the pan keeps the roasted pieces from sticking.
- 02
Drain and dry the chickpeas; cut the halloumi
Drain and rinse 2 cans chickpeas (15 oz each) in a colander. Spread them on a clean kitchen towel and pat thoroughly dry. Pat 8 oz halloumi dry with a separate towel and cut into roughly ¾-inch cubes; keep it separate from the chickpeas. | Why: Dry surfaces roast more crisply, while the larger cheese cubes hold their shape.
- 03
Season and start roasting the chickpeas
On the lined sheet, toss the dried chickpeas with 2 tbsp olive oil, 1 tsp smoked paprika, ½ tsp ground cumin, and ¼ tsp kosher salt. Spread into a single layer. Roast at 425°F (220°C) for 18 minutes, until the chickpeas look drier and begin to deepen in color. | Why: Giving the chickpeas a head start lets them crisp before the quicker-cooking cheese goes in.
- 04
Add and roast the halloumi
Carefully remove the hot sheet from the oven. Toss the reserved halloumi cubes with 1 tbsp olive oil, then spread them in a single layer among the chickpeas, leaving a little space around the cubes. Return the sheet to the 425°F (220°C) oven for 12–15 minutes, until the cheese has golden edges and the chickpeas are crisp. Leave the oven on for warming the pitas. | Why: Adding halloumi later browns its edges without drying it out while the chickpeas finish roasting.
- 05
Mix the lemon-garlic yogurt sauce
While the sheet roasts, peel and finely grate 1 clove garlic. In a small bowl, stir it together with 1 cup plain Greek yogurt, 2 tbsp lemon juice, and ¼ tsp kosher salt until smooth. Taste; the sauce should be tangy and lightly seasoned. Refrigerate until serving if it will stand for more than 30 minutes. | Why: The cool, sharp sauce balances the salty cheese and smoky chickpeas.
- 06
Prepare the fresh vegetables
Wash and dry 1 cucumber and 2 tomatoes. Dice both into small bite-size pieces, discarding the tough tomato cores. Keep them ready for assembly. | Why: Adding the vegetables at the end keeps their crunch and freshness.
- 07
Warm the pitas and rest the roast
With about 4 minutes left in the roasting time, wrap 4 pita breads together in the foil set out earlier and put the packet directly on an empty oven rack. Warm at 425°F (220°C) for 4 minutes, until soft and pliable. Remove the packet and baking sheet carefully, turn off the oven, and let the roasted filling rest on its sheet for 2 minutes. Open the foil away from your face to avoid the steam. | Why: Warm bread folds without tearing, and a brief rest makes the hot filling easier to handle.
- 08
Fill and serve
Spread some prepared yogurt sauce over each warm pita. Divide the roasted filling evenly among them, top with the diced vegetables, and spoon over the remaining sauce. Fold and serve immediately while the filling is warm and the vegetables are crisp. | Why: Assembling at the last moment preserves the contrast between crisp, warm filling and cool toppings.